Is your much-loved timber deck looking a little lifeless lately?
Does it feel like all the colour from that beautiful (likely expensive) wood has completely faded away?
Do not fear, your guide to timber staining is here!
It’s perfectly normal for an outdoor timber deck to lose its natural satin sheen over time, particularly if it’s overly exposed to the elements like sun and rain.
Here at Crockers Paint & Wallpaper we always like to tell our customers that a timber deck requires love, care and maintenance. Don’t let that sound daunting, it’s a job you can absolutely tackle yourself by following our easy, how-to guide below.
TOOLS TO GET THE JOB DONE
Keeping a timber deck looking vibrant and new first of all requires the right tools. We will recommend either a water or oil based timber stain depending on your desired project outcomes and budget.
Both are UV resistant however some oil-based stains won’t last as long as water-based ones as they cling to the timber differently. Oils also give a more natural appearance, while water-based stains have more of a sheen finish.
We’ll also recommend the best tools for applying the stain - whether that’s a large decking brush or a lambswool applicator.
You want to make sure you’re using something that will work the stain into the wood grain and provide an even application all over.
The best way to know which products will work well for your timber deck is by having a chat with our staining specialists. This will ensure you get tailored product advice suited to your situation.

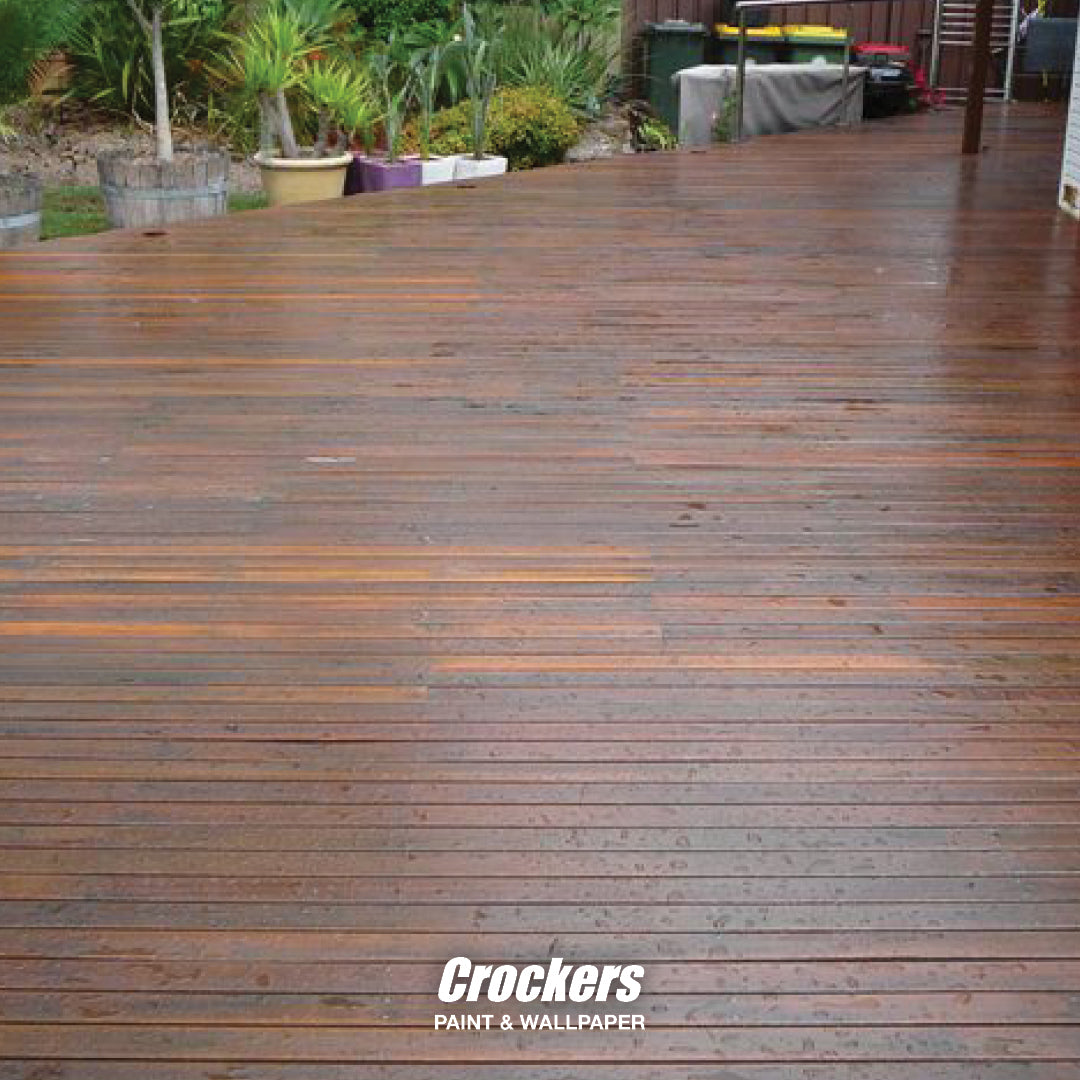
Before: A grey and weathered deck in need of re-staining
HANG ON…IS THERE A RIGHT TIME TO RE-STAIN?
That’s a great question! Yes, there is.
Of course it’s completely dependent on the type of wood used and any other staining products that may have been applied previously.
We recommend doing a regular inspection of your timber deck every six to 12 months to see how it’s holding up. Look for loss of sheen, colour or patchiness. This will also tell you if it does need a full re-stain or just a touch up to make it shine.
If you’re unsure what kind of TLC your timber deck needs, take some pictures and bring them into the showroom where one of our helpful team members can give you an expert opinion. This often saves time and money in the long run.
If you think it’s well and truly time for a full re-stain, you can check by splashing some water onto the timber surface. If the water sits on the top in little beads that means the oils and tannins are still present and your timber deck remains in good condition. Good condition = it’s not yet time to stain!
Otherwise if the water absorbs straight into the timber, it’s time to roll up those sleeves and get to work.
WHEN IT COMES TO A TIMBER DECK, PREPARATION IS KEY
First things first, a poorly prepped or unclean surface will impact the performance of any top coat you wish to apply, so careful preparation of your timber deck is essential to getting that sleek, professional finish.
A helpful tip: Timber staining requires dry wood and a 24-hour window of dry weather after. Make sure you check the rain radar and forecast so you’re not starting your project at an inopportune time!
Start by removing all furniture and plants. Then give the timber deck a good sweep over, making sure to remove any debris and dirt build up. You’ll want to put a plastic cover over any in-ground plants or features to protect them from the wood cleaner and staining product. Cover any joining areas that you don't want stained with masking tape.
In most cases you’ll then need to sand down your timber deck in order to get a nice, smooth base. Then it’s time to give it a good old clean with a wood cleaner solution - one of our top recommendations is Haymes Woodcare Wood Cleaner.
For the best results when cleaning a particularly weathered timber deck, wet the surface and allow it to soak for at least 30 minutes. This will swell the timber fibres and ensure the wood cleaner solution is more effective.
HIT THE DECK, IT’S TIME TO APPLY
Once you’ve properly prepped your timber deck it’s time to apply the stain.
We recommend you do two to three coats of your chosen wood stain for the best possible protection and a nice, satin sheen.
A few things to remember:
- Never apply stain to your timber deck in direct sunlight or on hot to touch wood
- Avoid applying when rain is expected within 24 hours
- Avoid walking on the timber deck for at least 24 hours
- Hold off on placing furniture and heavy items on the deck for seven days (we even recommend furniture pads to avoid scratching and marking)

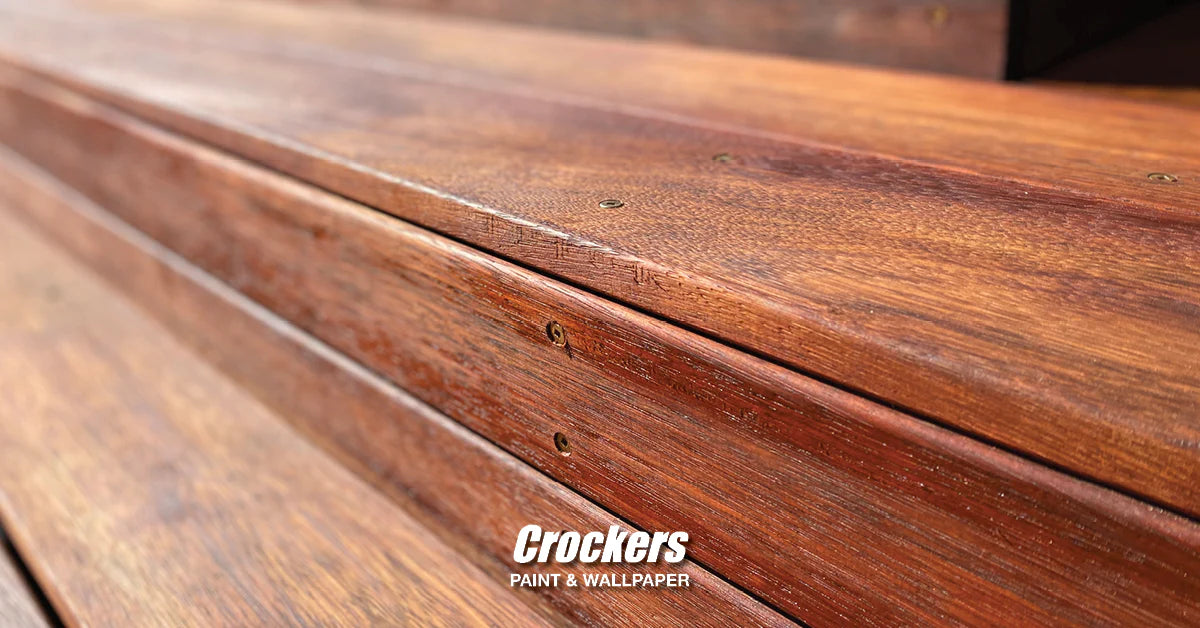
After: A vibrant and inviting deck having undergone the re-stain process
STAIN SMARTER, NOT HARDER
A timber deck requires simple but regular care and maintenance. Doing this will ensure it stays in prime condition for many years to come!
Of course if the whole process still sounds a little daunting we’re here to help you every step of the way. Give us a call or find us in store to talk through the details of your home projects with a specialist who can offer the best guidance.
Alternatively we have a range of specialist sessions available with specific experts to walk you through the process of your next big project. Simply book a complimentary Crockers consult today and take the first step in bringing your vision to life.
Featured In This Article
Timber care! Your complete guide to timber maintenance
Your guide to re-staining your faded timber deck
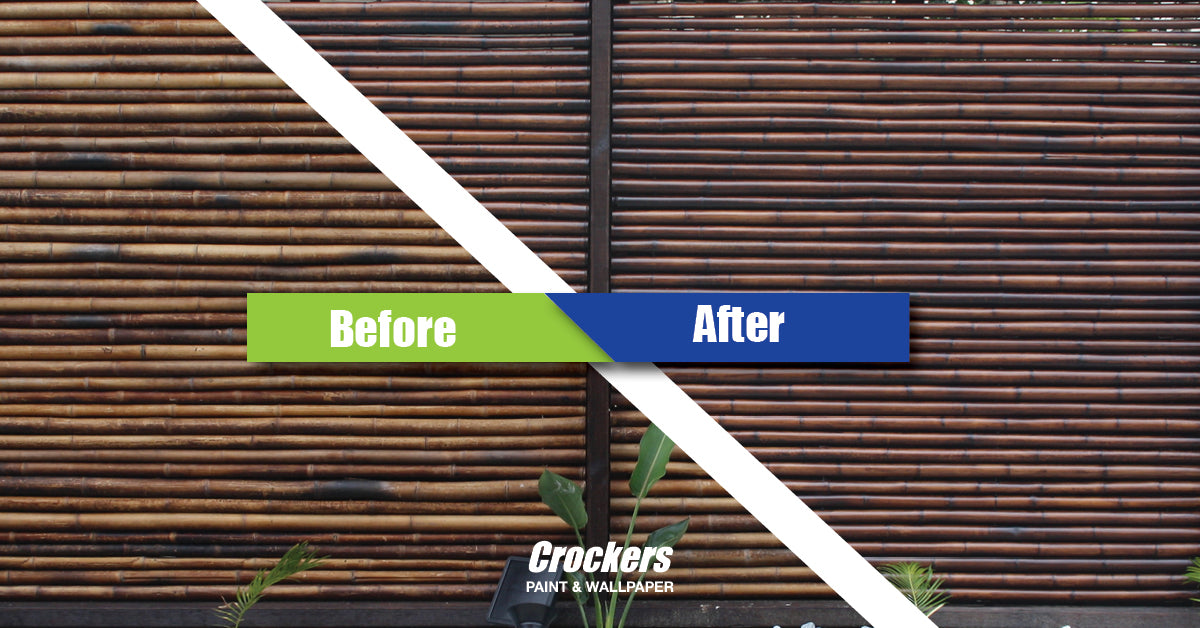
How to make the most out of your bamboo fencing
Bamboo fencing is a great option for your outdoor and exterior space at home. It’s a natural material, making it desirable for those looking to add a sustainable touch to their home.